sewing

Reuseable Paper Towels – Eco-friendly Project

Hello! Are you looking for ways to be more eco-friendly? Over the last couple of years I have started taking small steps into adjusting my day-to-day routine routine make it better for the earth. When I started this journey I was scared at first because I thought it was going to be really expensive, but it actually saves you money too. I started out with my laundry detergent by using Earth Breeze. In case you aren’t familiar, they are a company that sends you dehydrated laundry detergent. They completely dissolve in water and the package is biodegradable in just 3 months. 1 package lasts me a couple of months, and it’s only $12 for a package. After I got used to that I started using dissolving hand soap tablets. All of the packaging is biodegradable and I use the same glass soap dispenser that I’ve had for years. I’ve also switched my cleaning products to dissolving tablet cleaners as well and repurposed old clothing or fabric to make new pieces.

There is something that has always bothered me, though, and that is how many paper towels I use, especially when cleaning or cooking. It is a very embarrassing amount because I can’t stand to have certain textures on my hand. I’ve tried hand towels and cheap multi-use cleaning cloths but there was always something I didn’t like about them. This brings us to our post for today. I saw on Joann Fabric’s Instagram this year for earth day a guide for reusable “paper” towels. I knew right then that I had to make it. If you would like to find the instructions on Joann Fabric’s website click here.


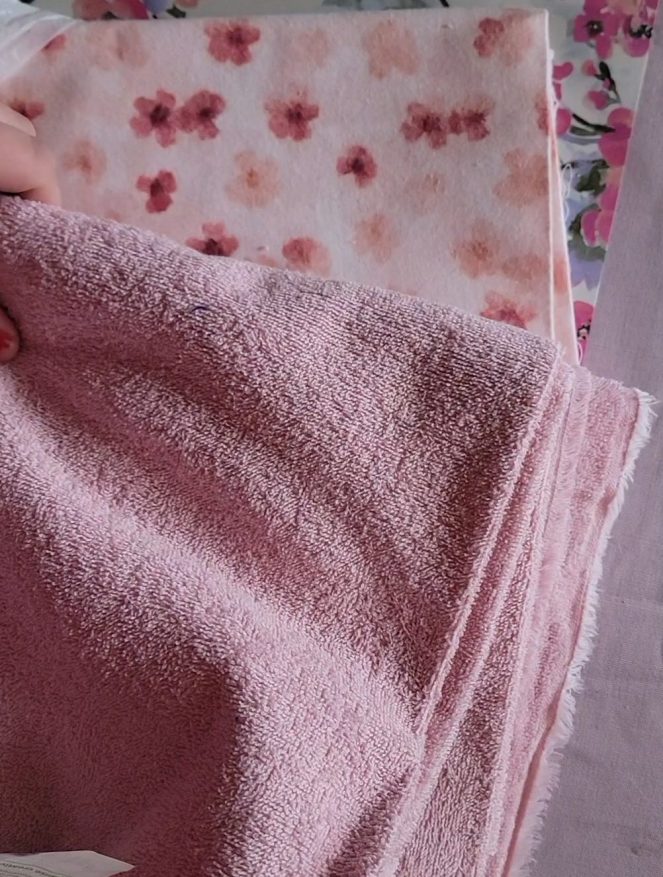
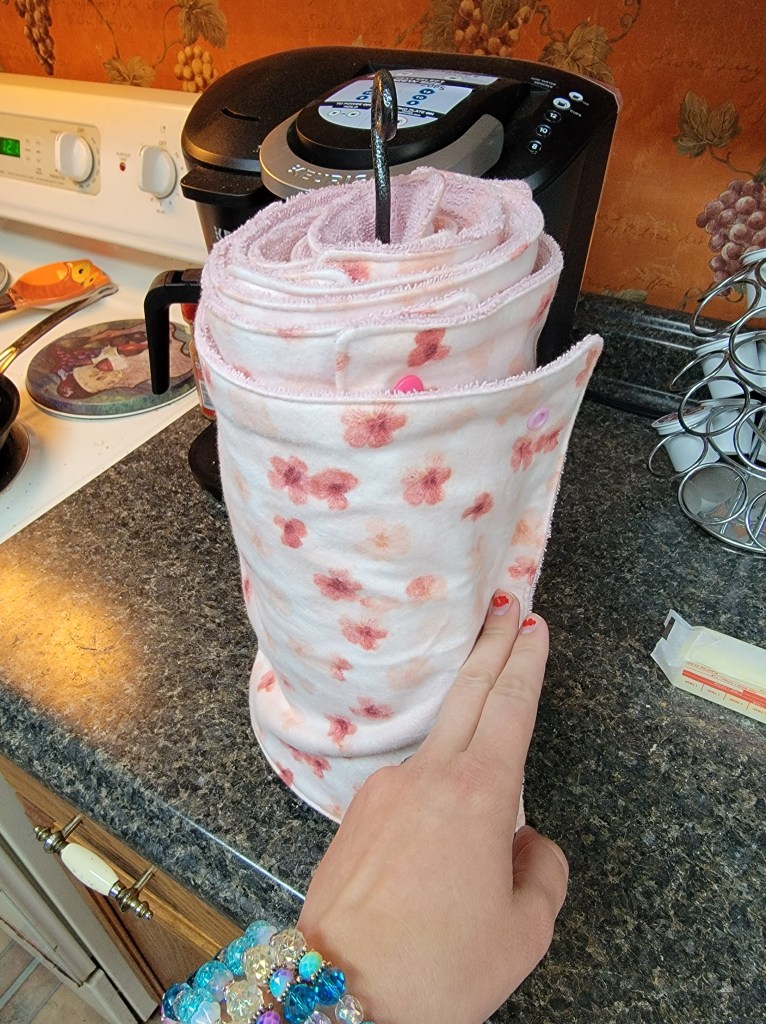
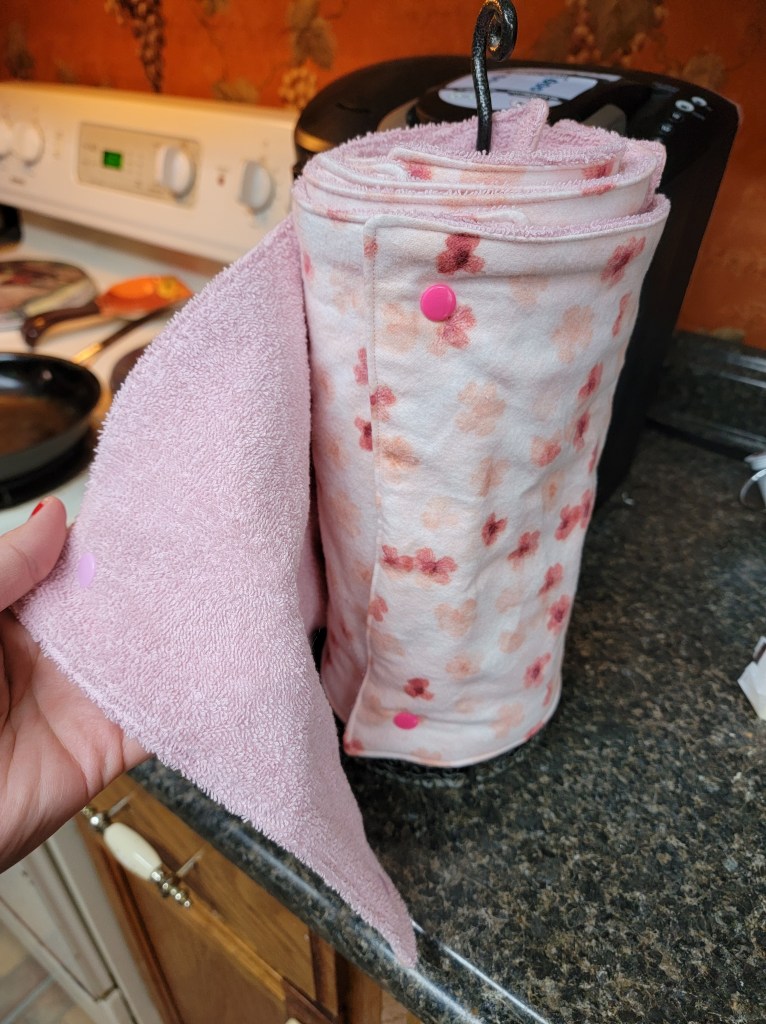
Fortunately, the fabrics were also on sale so it made it much easier and cheaper. I also have never used snaps before so I was kind of nervous but they were easy to use and I bought a set from Amazon. Since you can find the information on their website I’m not going to repeat it on here. The instructions are very simple. You can also use a serger to make it even easier. I put my snaps 1″ on each side of the corner.

Would I make these again? Absolutely! I absolutely love them! While I will still use paper towels for raw meat and cleaning disgusting places (toilet I’m looking at you) I will make more for everything else. They turned out so beautifully. I want to make ones just for cleaning and summer just for drying my face after I wash it. If you would like to see a video as I work on it please head over to my YouTube channel! Is this a project that you would be willing to try? Let me know in the comments!

Uncategorized

Custom Monogram Coasters – A Must Have!

Hello, my friends!

I hoped that you are all are fairing well with this COVID-19 pandemic. Finding myself at home all the time has been really hard. I’m used to always being on the go and I have never been good at sitting still. However, it has been let me do more creatively which I am always thankful for. That brings us to today’s post.

Today I am going to walk you through how you can make beautiful customized coasters for only about $6. Below is the set that I made.

So to make these you need some beauties you are going to need some things:

  • 4 Coasters (Or as many as you want)
  • Permanent Vinyl
  • Transfer Tape
Coasters: For coasters, there are many different types that you can get. The ones showed above I bought from Dollar Tree for $1 apiece. They are really nice because they have cork on the bottom so it will not scuff your table but the stone on top is absorbent. They also come in different designs which is super fun to play with.

That being said there are other options as well. I have also used just regular cork coasters (those require HTV) I have also use slate coasters that I bought at Michael’s. So you can buy new or if you already have some and what to give them a fresh look. You have plenty of options.

Vinyl: Like I mentioned before for these coasters from dollar tree I just used regular permanent vinyl.

Transfer Tape: Naturally you don’t want to use a strong grip transfer tape. My personal favorite transfer tape is the Paper Studio Transfer Tape you can buy at Hobby Lobby.

How-To:
1. After you collect your materials you want to get on design space and create your design. Right now I’m going crazy over these split monograms that are part of the image library. Before you move to on make sure that everything is attached if you are using all one color.

2. Make sure that your image is within the dimension size and duplicate the design for how many coasters that you are making.

3. Cut out the design.
4. Weed out the extra vinyl
5. Apply the transfer tape to the image.
6. Carefully apply it to the coaster.

7. Repeat to the other coasters and enjoy!

Remember that the permanent vinyl takes 24-48 hours for the adhesive to cure. That being said I suggest not using these for 2 days. After that, that’s pretty much it. I have been using the ones that I’ve made for several months and they are still perfect. When their dirty you can just spray them with clean and then you’re all good. Until next time, stay craftalicious everyone!
Uncategorized

Custom Cutting Board – Great Housewarming Gift

Hello everyone! I wanted to share with you today a gift that is easy to do and makes a fantastic addition to a housewarming gift and/or wedding present. It is these custom cutting boards. The things needed for this project are: 
  • Cutting Board
  • Vinyl
  • Transfer Tape
  • Squeegee or card
The best part about it is that you can pay as much or as little as you want. The cutting boards that are below I got from the dollar tree. They would be perfect for a cheese cutting board. If you wanted to do something bigger or a full-sized one, you can find those at any bigger store.

How to Create These Beautiful Cutting Boards:

  1. Design your image on Design Space — Personally, I love split monograms. You can find these images on Design Space under Cartridges → Split Monograms
  2. Use your Cricut or cutting machine to cut out your vinyl — You can do this as big or as small as your cutting board will allow. You have to make sure to MIRROR YOUR IMAGE. For your vinyl, I recommend Oracle 651 since it has a permanent adhesive and the color goes all the way through.
  3. Weed out the extra and apply the transfer tape.
  4. Clean the bottom of the cutting board with rubbing alcohol – This is important because if there is any fingerprints or anything on it, the vinyl may not stick all the way.
  5. Carefully apply the decal to the bottom — You want to do this slowly using your squeegee. This will help prevent bubbles in the vinyl.
  6. Voila! You’re done!

Because, the vinyl is applied to the bottom they can still use the cutting board and they look beautiful! I made these for a total of $3! How amazing of a deal is that!?! That wraps it up for today, talk to you next time!