This tutorial is going to show you step by step how to make a shirt using Glitter HTV. Without further ado, let’s get right in.
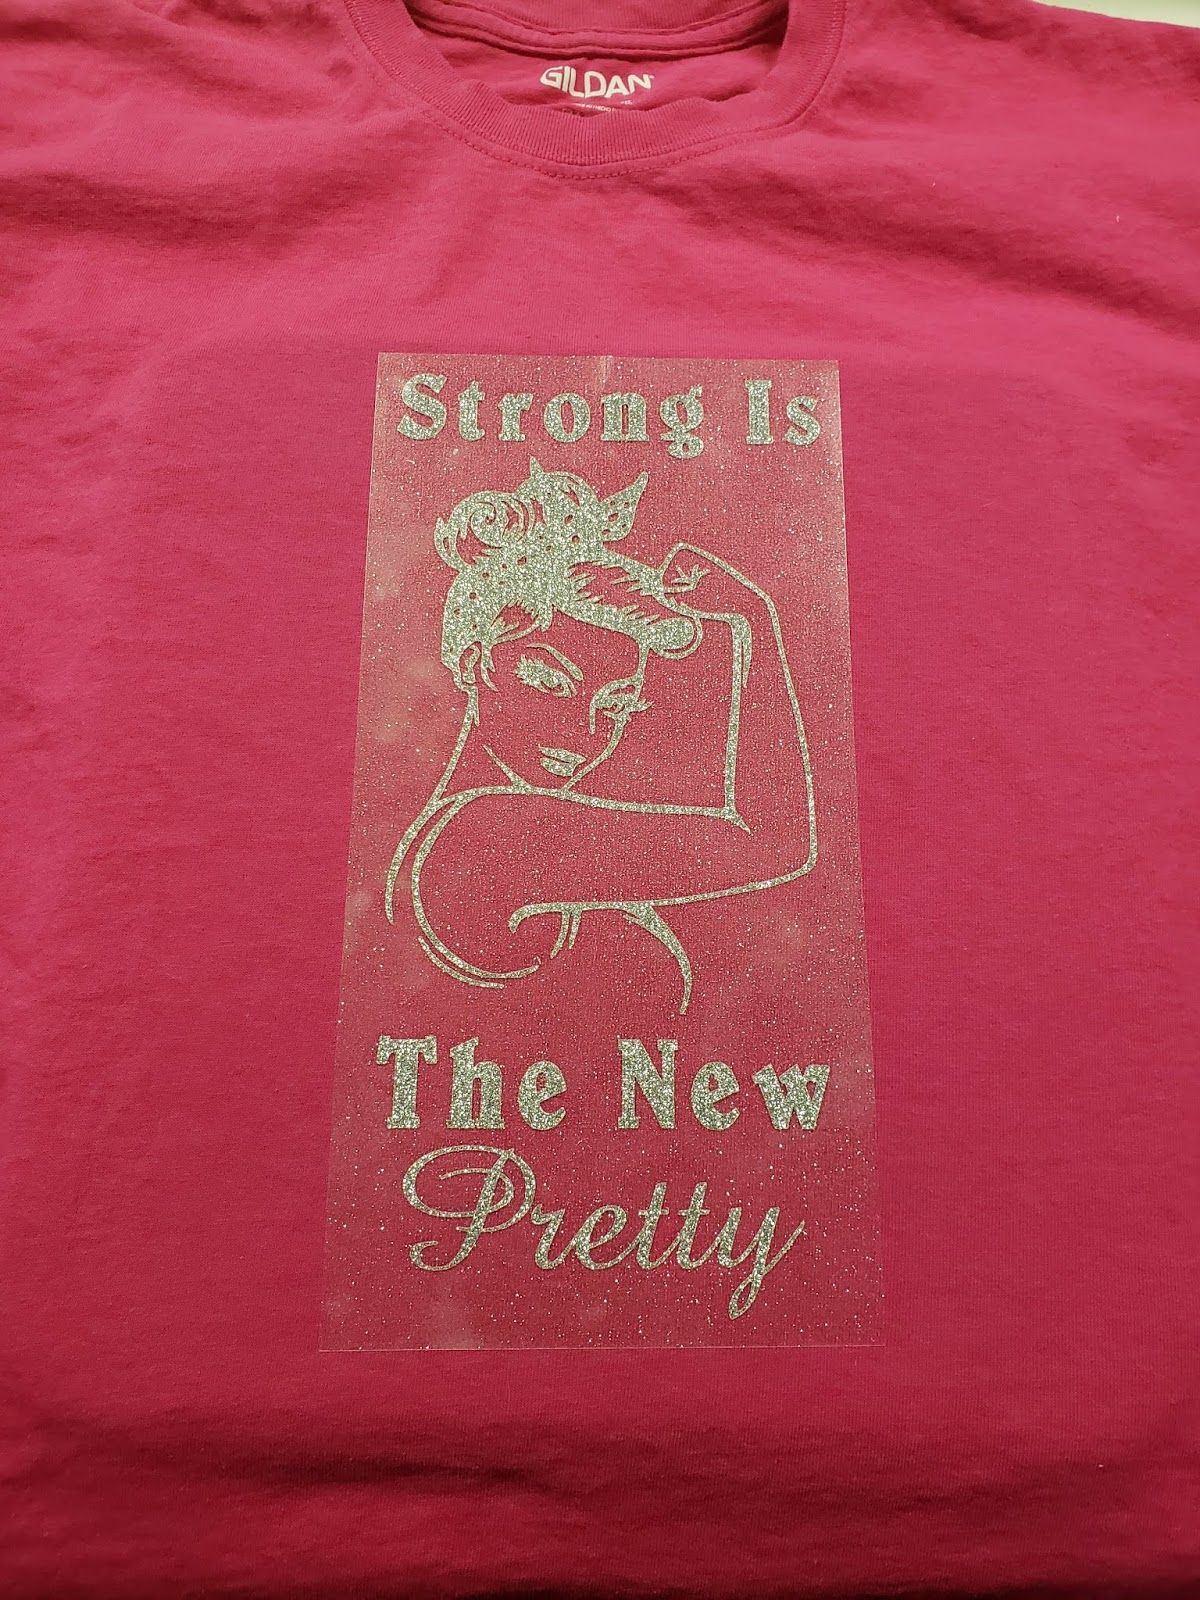
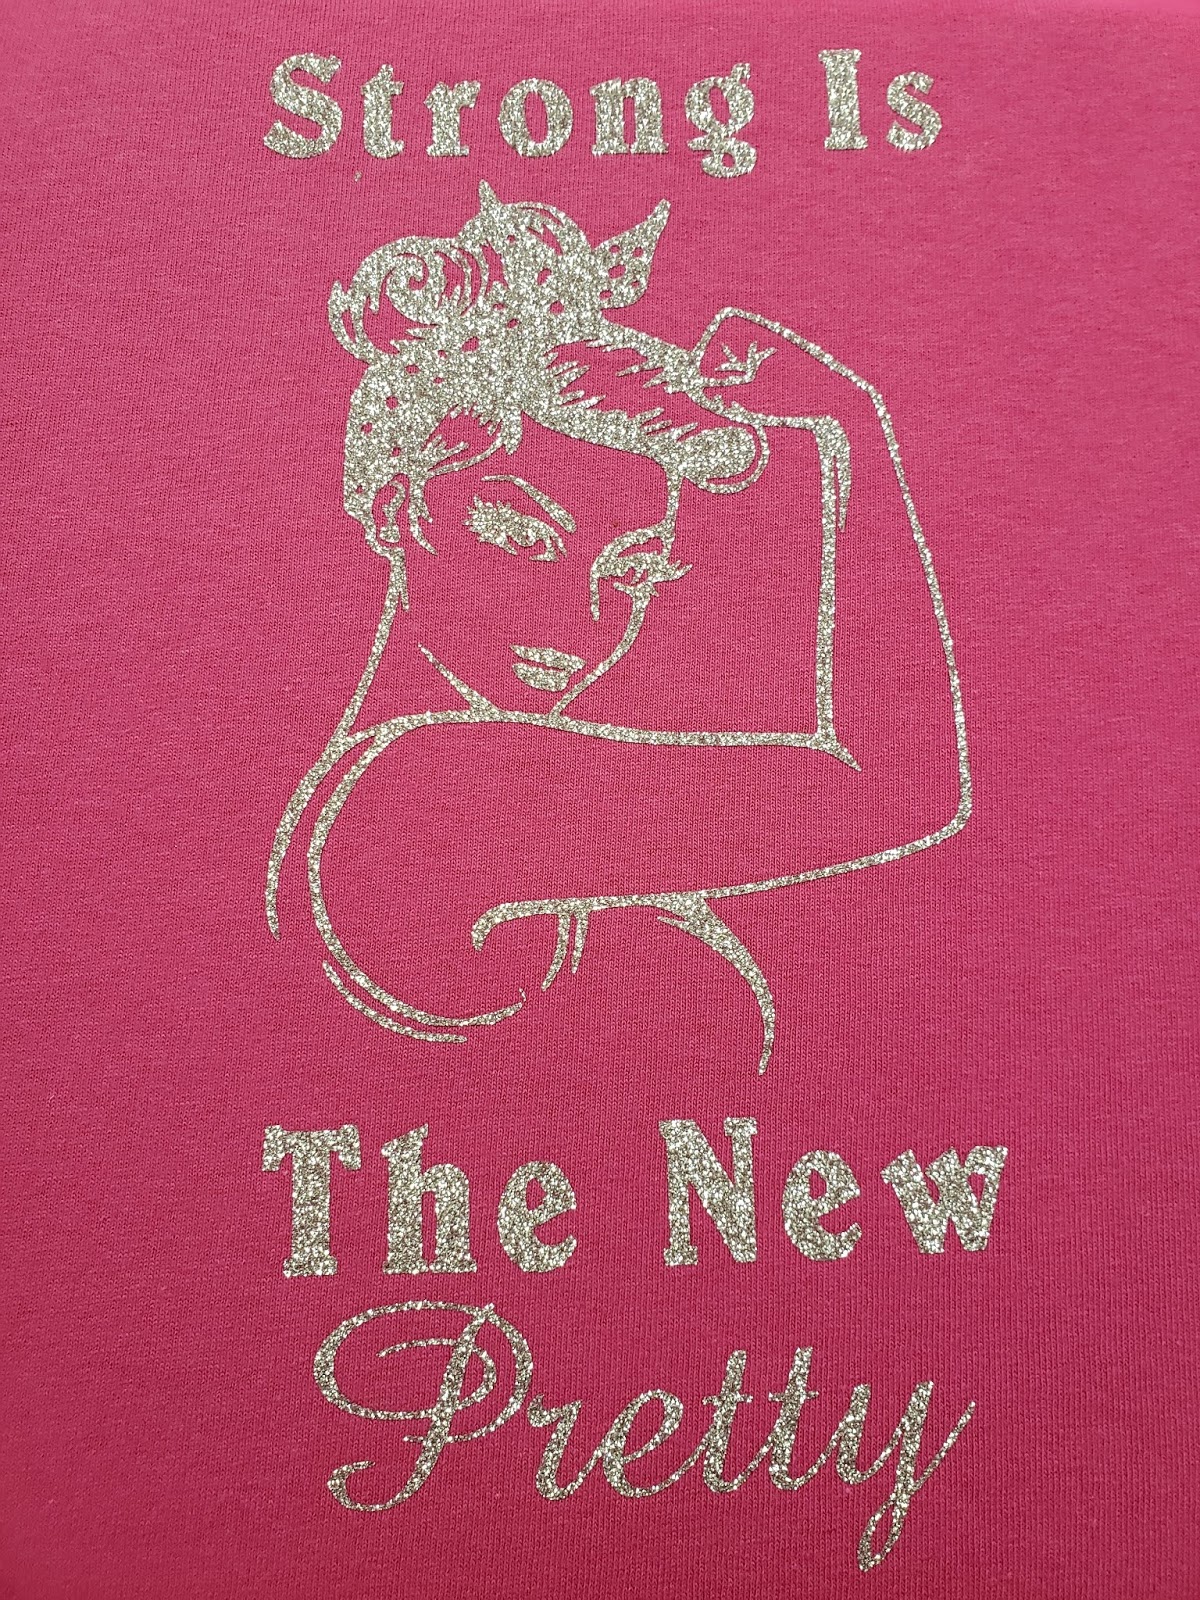
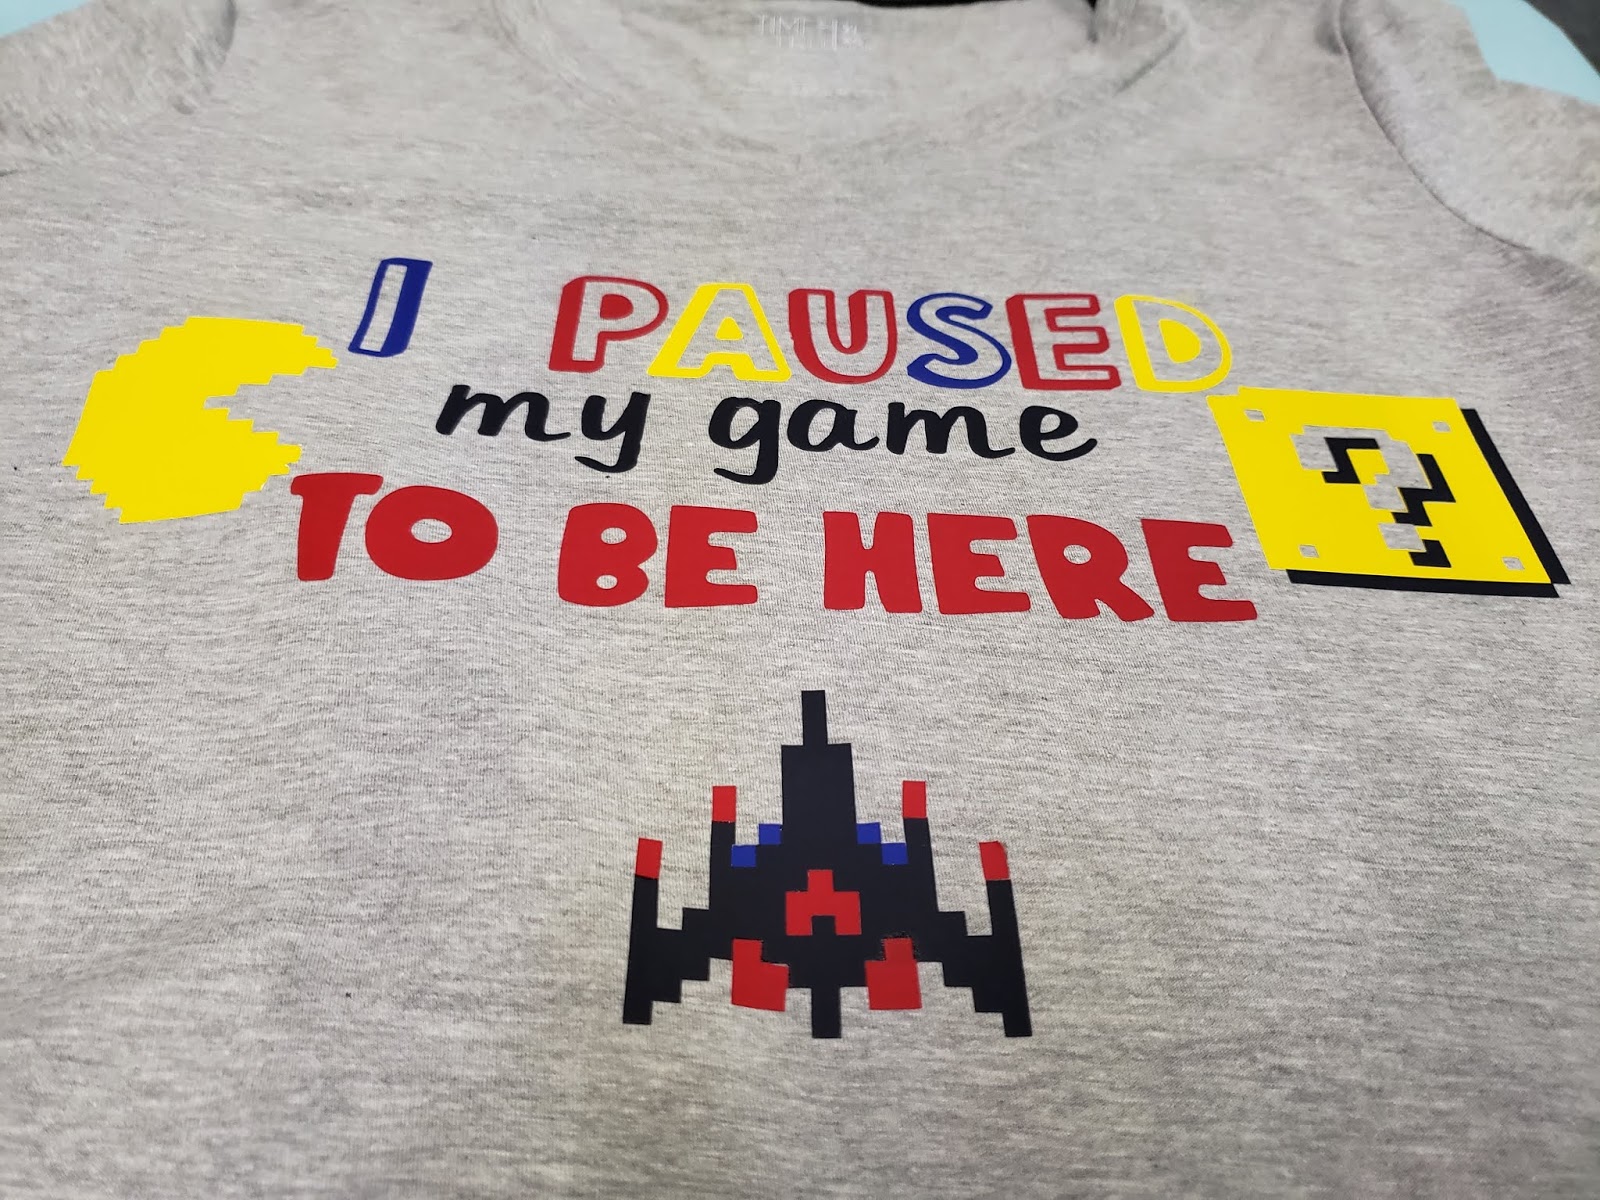
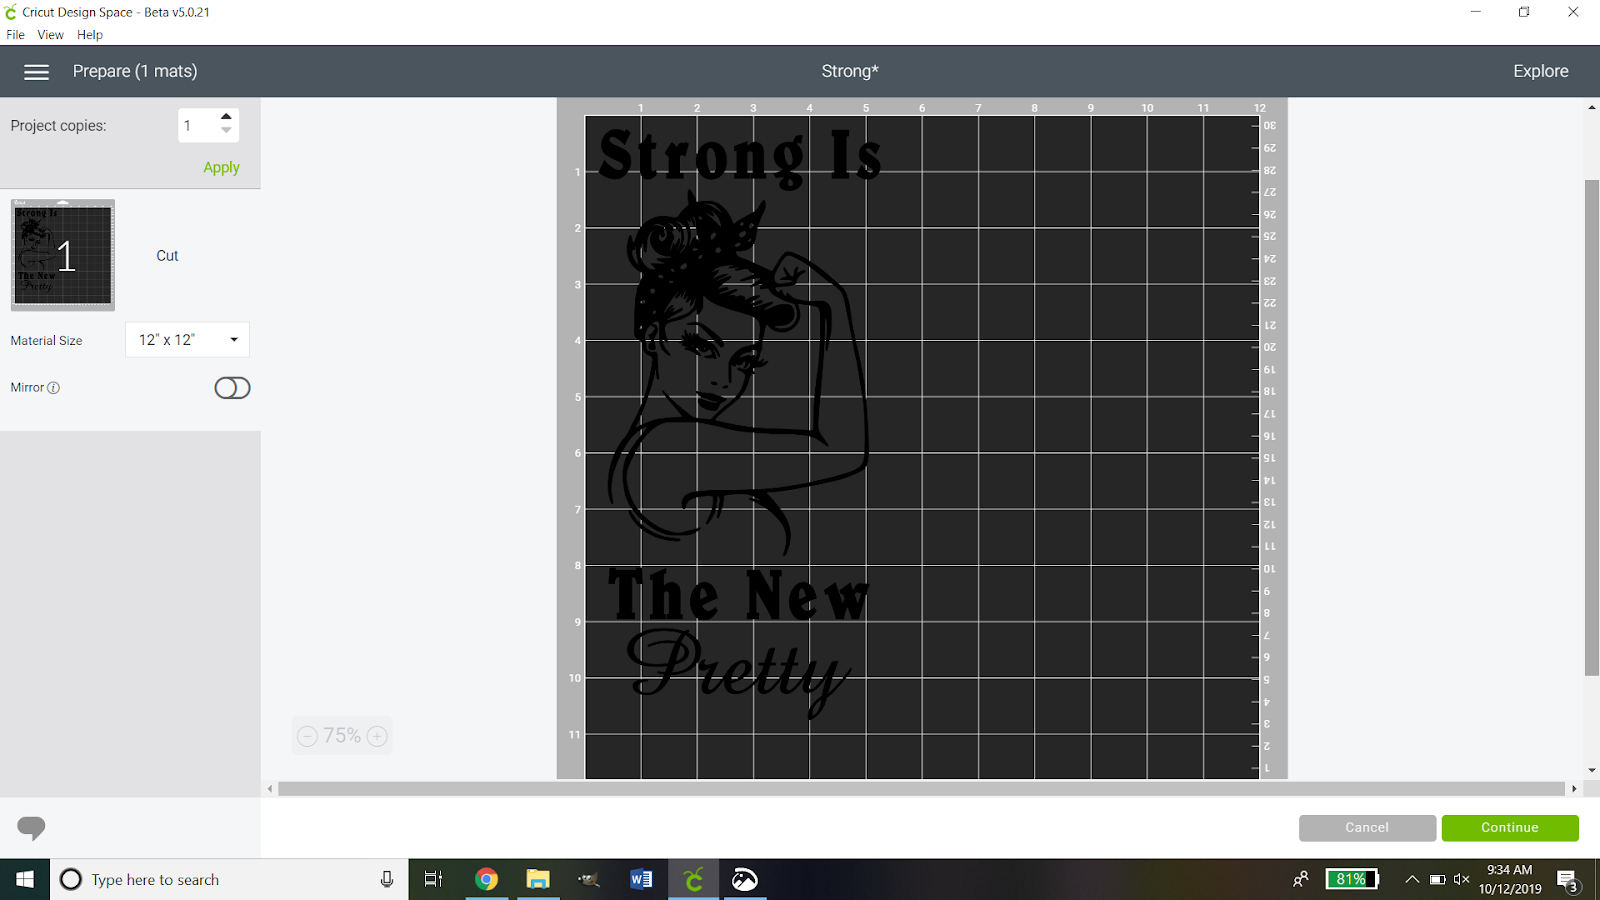
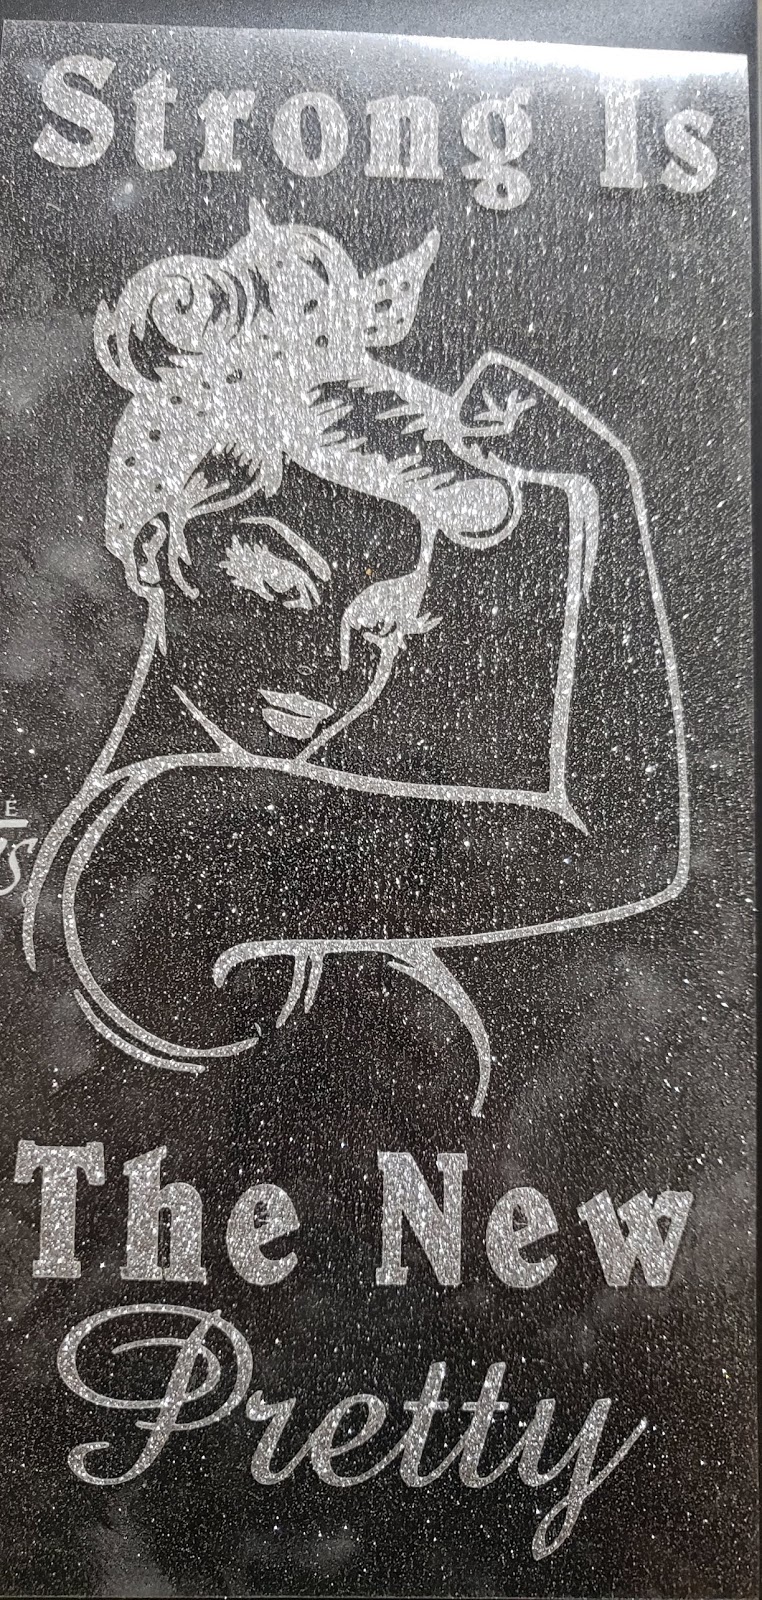
First, you want to start with the image that you are going to use for your shirt. I found this lovely pinup girl and then added a sentiment that I really liked. Once you have everything all set up click the make it button.

Then we want to make sure that it is on there just how we want it. This is important: DO NOT FORGET TO MIRROR THE IMAGE!
Because glitter HTV is thicker than traditional HTV we need to have it on a different setting. So you want to hit the continue button then set your Cricut to the custom setting. When you do so you will see this:

You then want to click browse all materials and search for glitter iron-on.

When you have done that you will see a screen like this:

This is your chance to check all of your settings to make sure they are where they are supposed to be. If you notice there is a pressure drop-down box. You can decide if you want it to be a default, light, or heavy pressure. The Siser glitter HTV is very thick so I opted for heavy pressure. Now you need to get your vinyl ready. I used the guide on the digital cutting mat and cut my vinyl 11 X 5.5. I then applied it shiny mat shiny side DOWN. Always apply the shiny side of the vinyl against the mat.

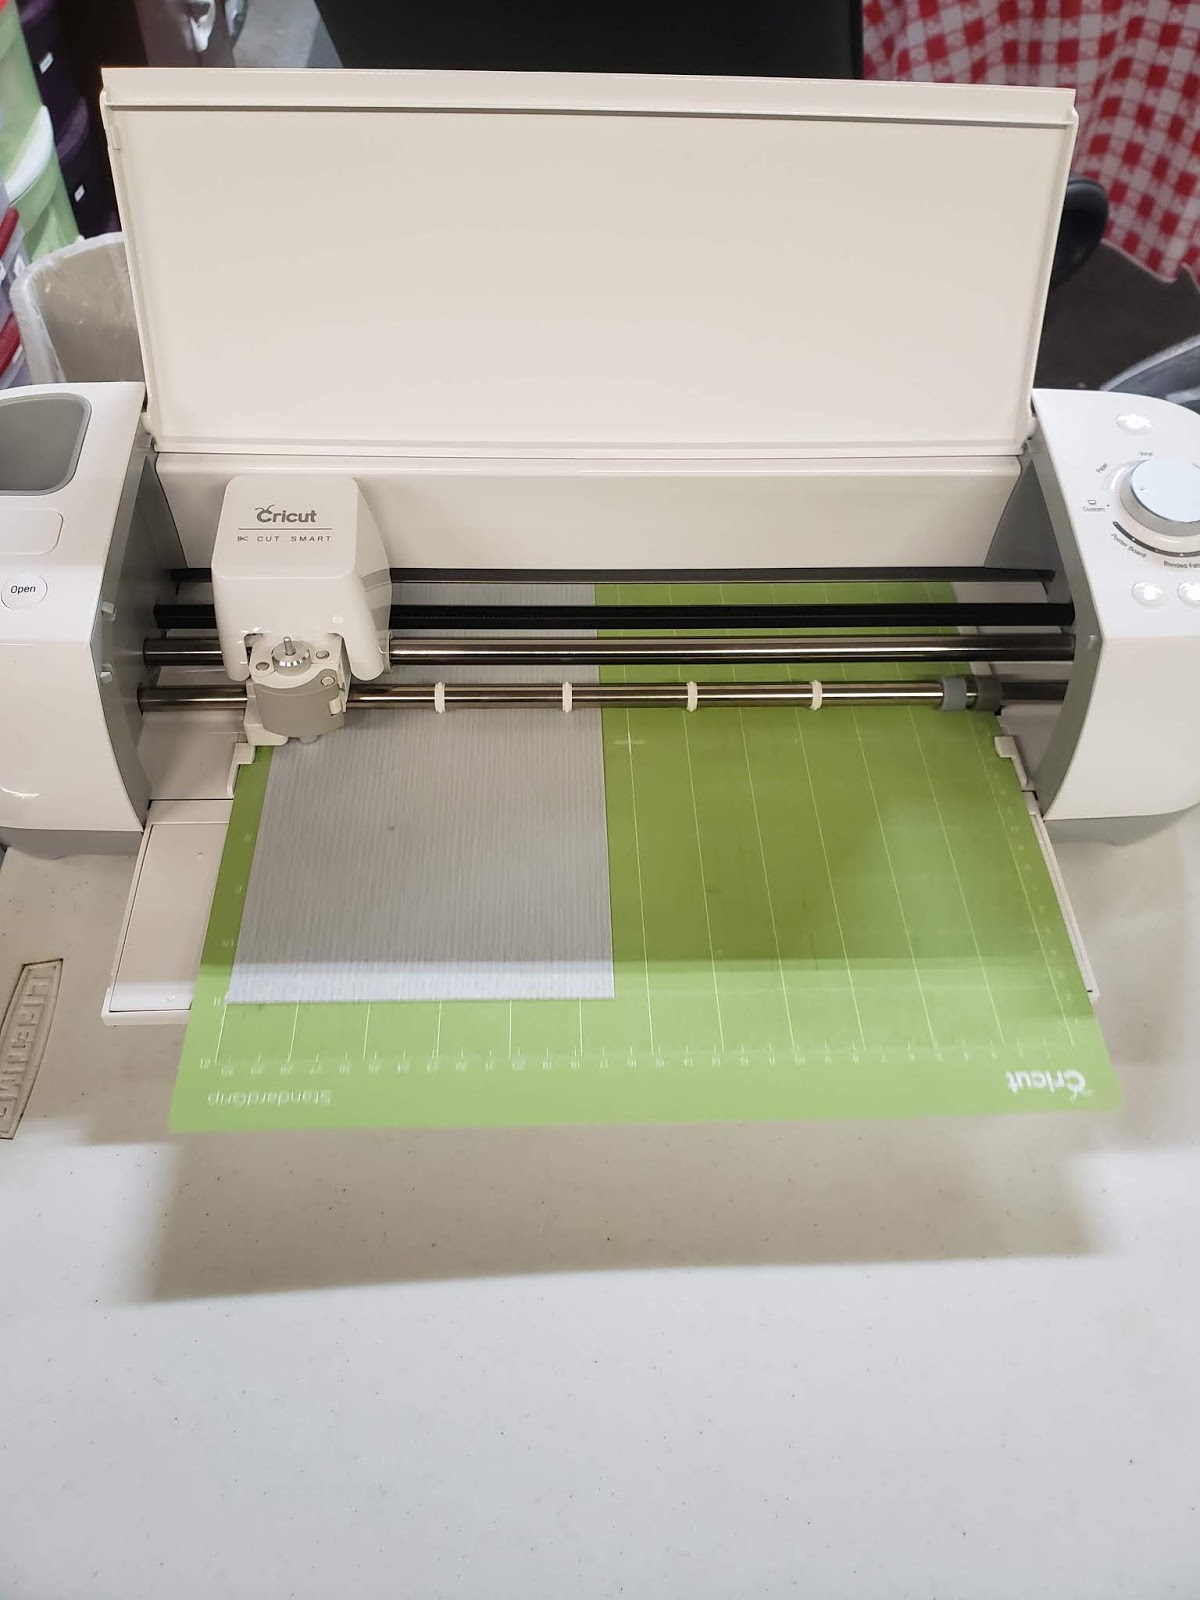
Then you want to load your mat and start to cut. Depending on how intricate your design you wait for it to finish cutting.
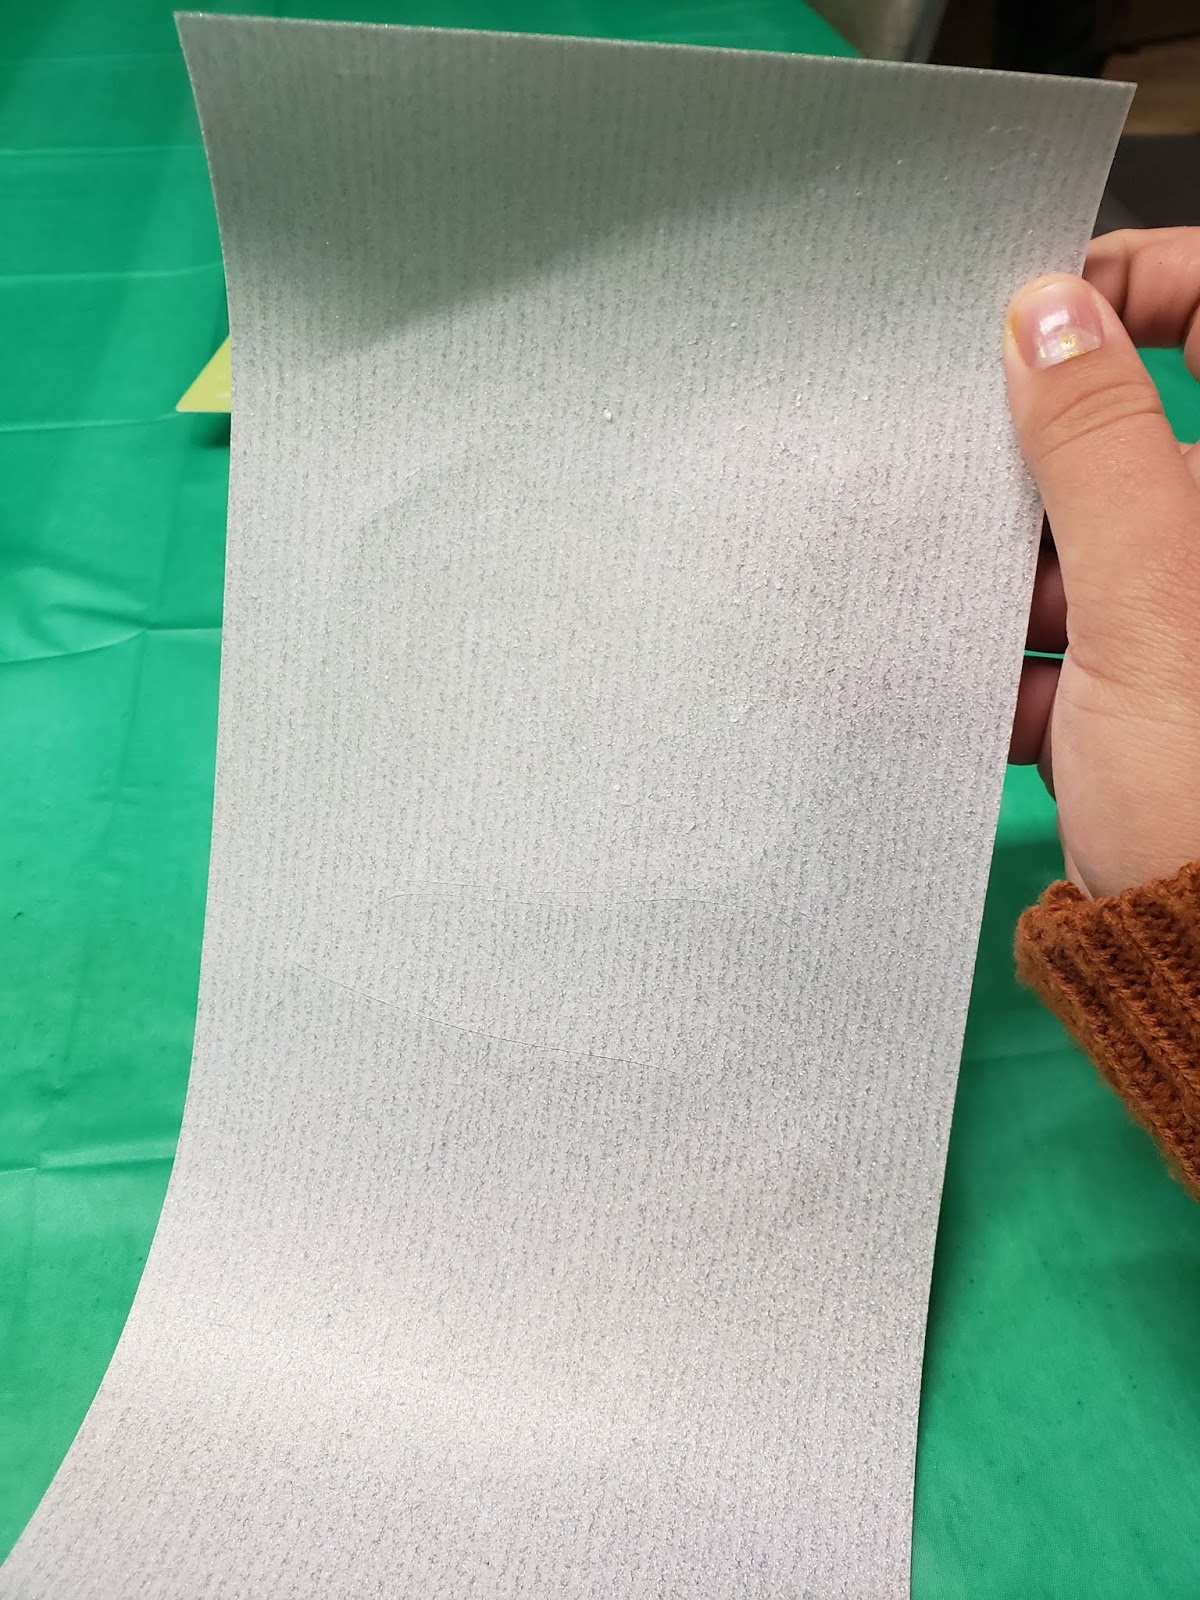
So now that it is all cut you can take it off the mat. So now comes the fun and time-consuming part. You need to weed, or remove the extra vinyl. I find it easier by taking the extra around the edges before doing little details then I use the picture on my computer to help me find what I need to weed out inside the image.
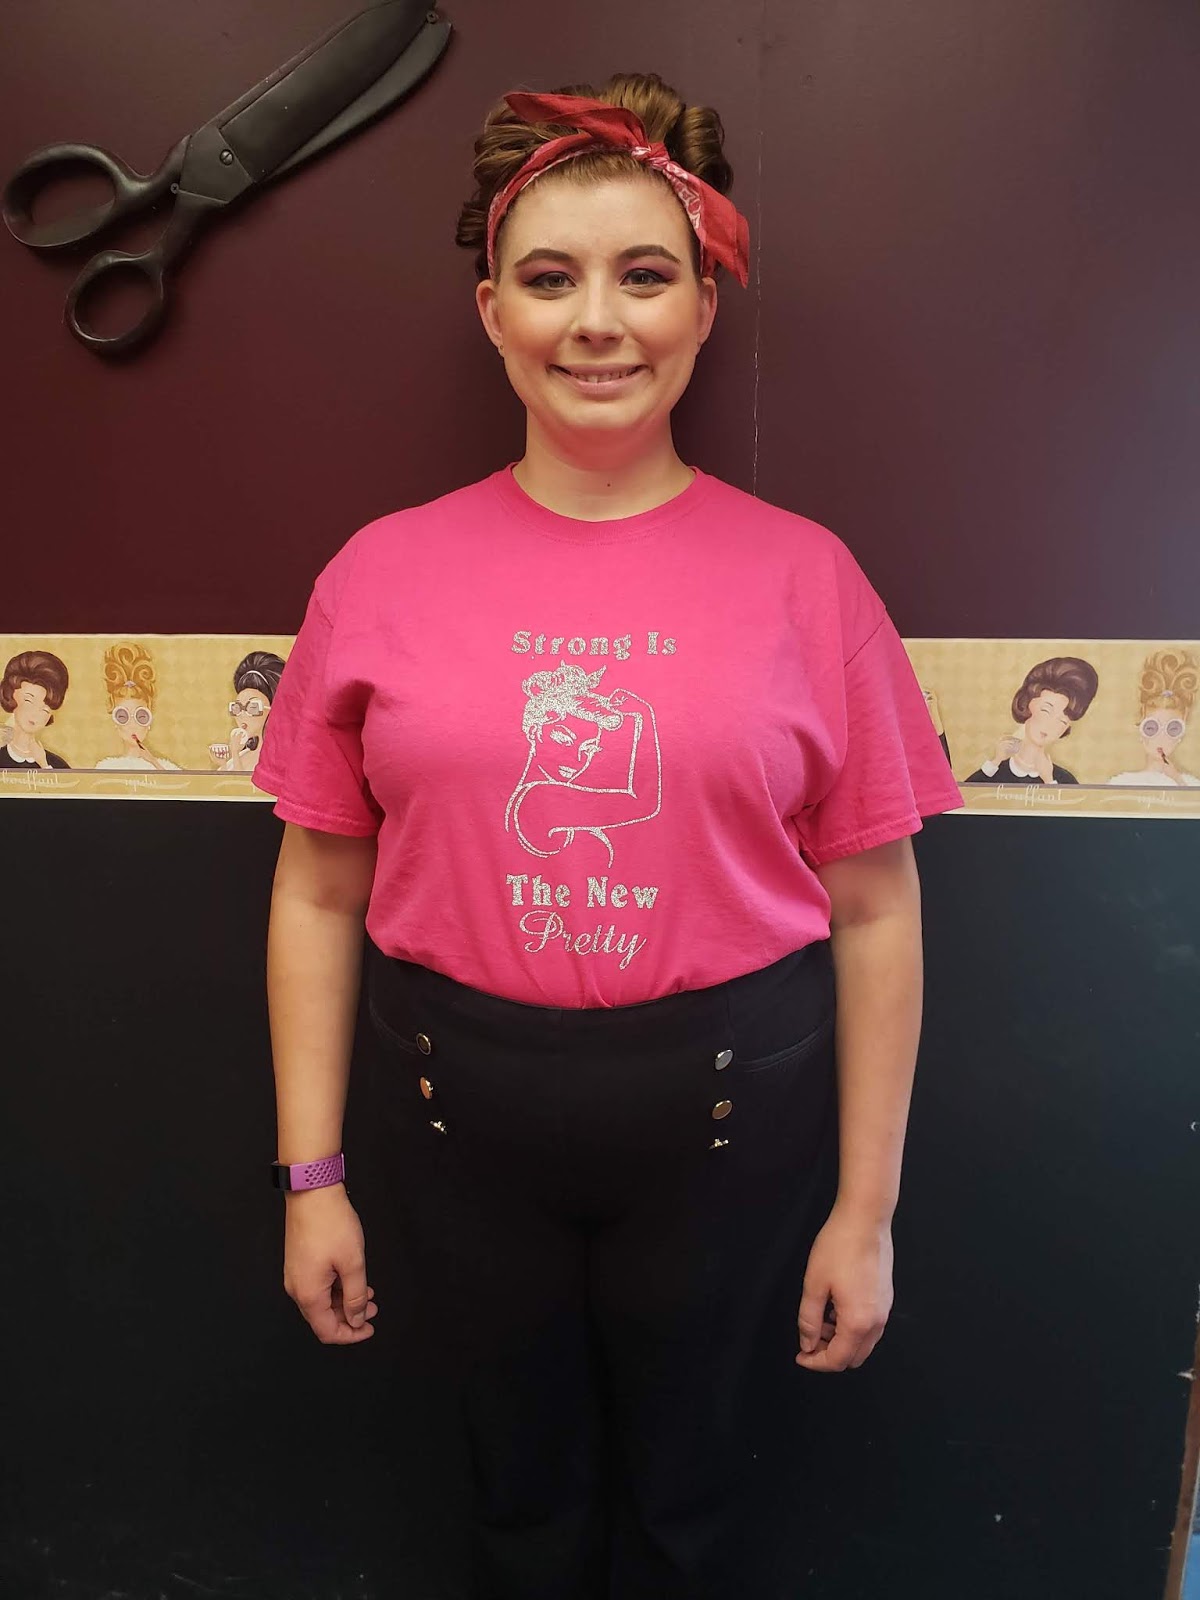
Not that is done you want to arrange your shirt and heat transfer pillow right where you want it. It is important that you wash and dry your shirt without fabric softeners before continuing.