Hello Everyone! I hope that everyone is having a fantastic day so far! I’m really excited to share this tutorial with you. A couple of weeks ago my mom entered her car at a car show. She asked me to make a couple of custom pieces for the car to dress it up. So this is the first tutorial in a mini-series that will show a step-by-step on how to make something things to dress up your car. This tutorial is going to be an easier one it is that of a simple seatbelt cover.
My mom had some covers from when she originally got the car but that was 4 years ago and they were really worn. Not to mention they didn’t go with the Princess theme. She had some specifications like she wanted them to be longer than her other ones. Once I measured them I cut the pieces out of the new fabric. The size that I used is 7″ x 11″ You want to cut out 2 pieces. One for the outside and one for the liner. This size is adjustable but worked well for her. The 11″ is the side with the length.

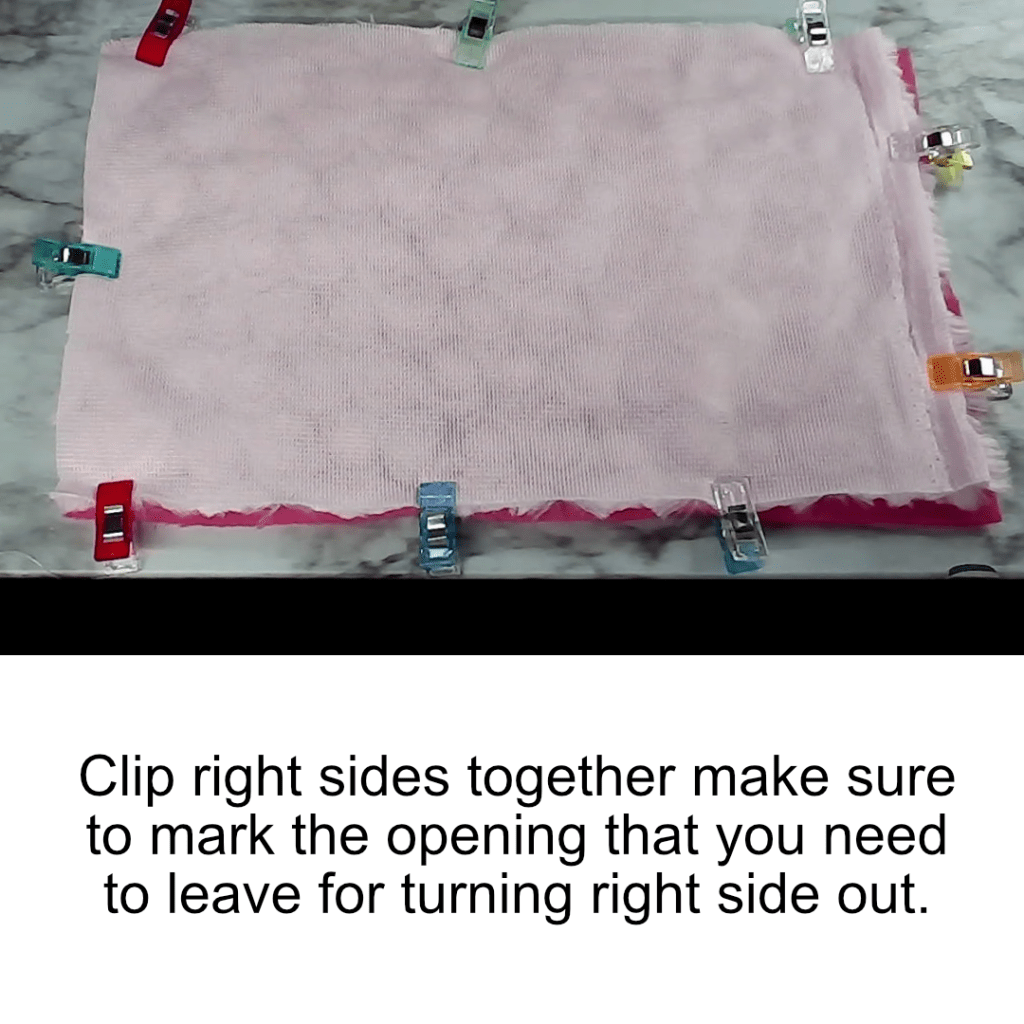
Once you pick your size and you cut out both fabrics, you want to put them right sides together. I would recommend pinning or clipping the two layers together. For this project, I used an anti-pill fleece for the lining and a pink furry fabric for the outside. If you are using cotton for the outside, I would recommend using a stabilizer and perhaps using some batting for added padding. Then you want to sew around the edges using a half an inch inseam. You want to leave a gap open on one of the shorter ends so that you can turn it right side out.

Next, you want to turn it right side out and then you want to top stitch along the outside. This will help to close the gap from turning it right side out. I just topstitched along the short edges as the other pieces will be topstitched in the next step. You’re almost done so now you just need to add the closure. In this case, velcro. You want to start by measuring how long of a piece you need. You want it to be a quarter of an inch shorter than the fabric on each end.
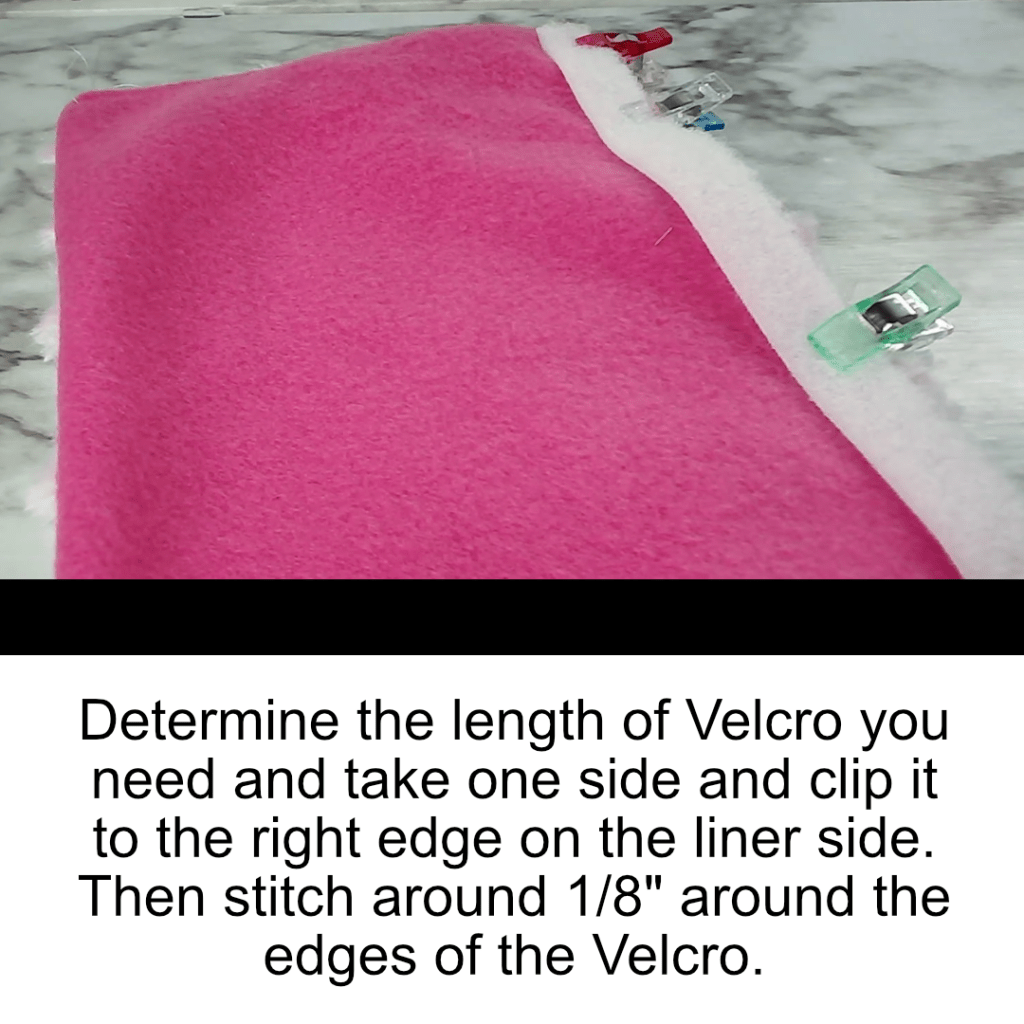

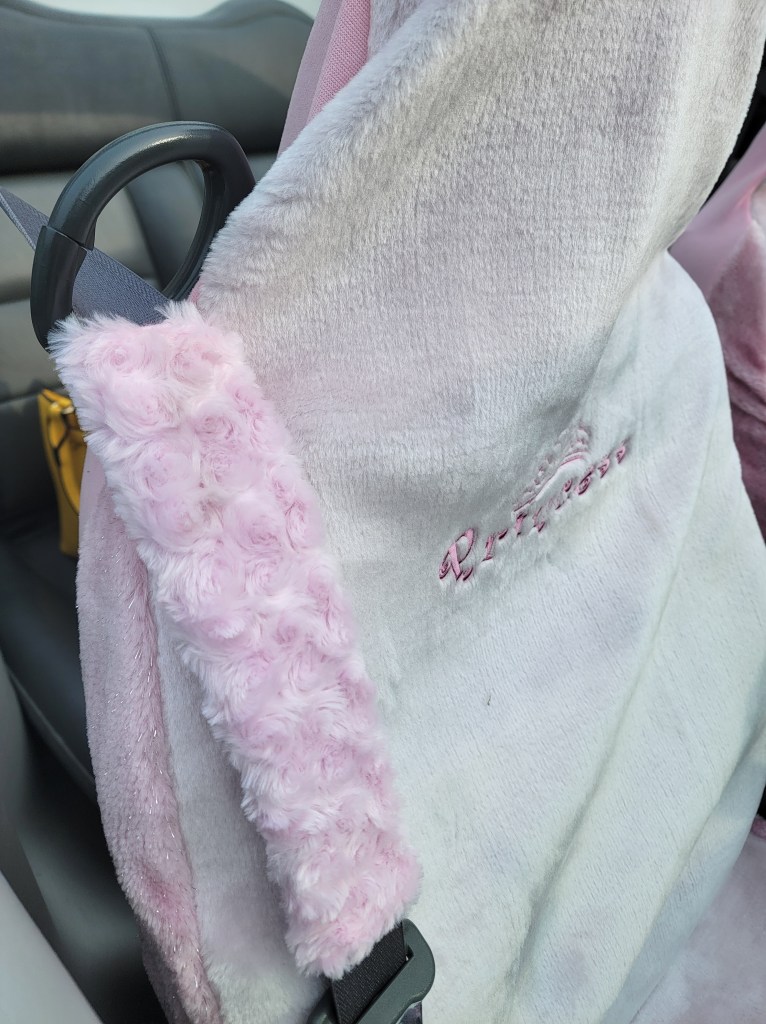
Sew one side of the Velcro on the right side of the fabric creating a box close to the edge of the velcro to secure it. Once you’re done with that, turn it to the other side and sew it on the other side. So one strip should be on the left and one on the right. Clip the threads and then prepare for it to dress up your car. Here is a picture of the ones that I have completed.
There you have it! Thank you for joining me today and if you have any questions then please leave them in the comments. Talk to you next week!
