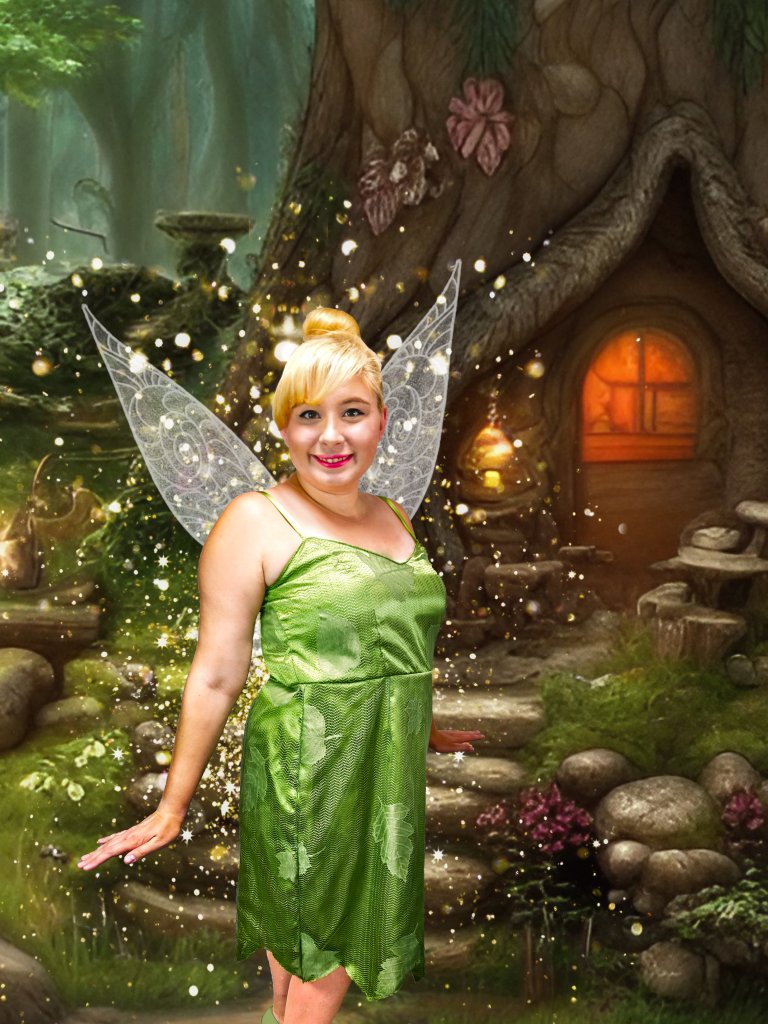
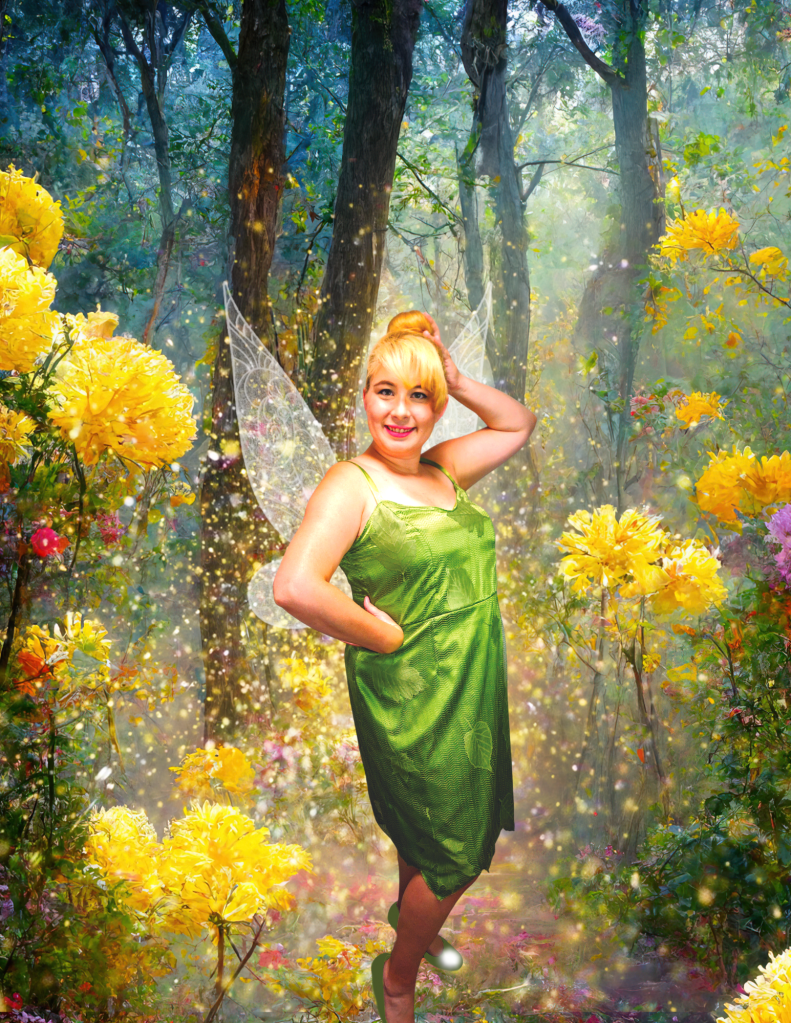
Hello Everyone! So I’m really excited about this post today. So I was in a thrift store a couple of weeks and saw this beautiful tablecloth. It was green and had a beautiful lace style with some leaves throughout the design. The moment I saw it, I knew I needed to make a Tinkerbell cosplay. So I bought it and then purchased some satin fabric to go behind it since it was see-through. I sat on it for a couple of weeks trying to decide how I wanted to go about and make it. One weekend I decided I was going to just take the leap and attempt it.
I started out by using sewist.com to design the pattern. If you would like a full review on the website you can check out my other blog post here. I did take some creative licenses with the design. First I started off by adding some spaghetti straps. I didn’t want to add boning to the bodice and I wanted to make sure that it would be able to stay up. Secondly, I made the length of the dress longer. I wasn’t comfortable with the length of the original design so I made it knee-length in the hope that I would also be able to wear it for other occasions as well.
Once I had the pattern designed I purchased it, printed it out, and cut out the pieces. I was really excited about it and I started with the skirt pieces and cut the green lining. I wanted to make sure that they would fit before cutting out the tablecloth. Once I finished that I started cutting the pieces out of the tablecloth and sewed them together and serging the edges to get them neat and clean. Then I started working on the top. This was slightly more difficult but I found it easier to baste the lace pieces to the satin so that I can keep a nice crisp seam. I ironed after every step to make that a bit easier. For a closure on the back, I added a zipper for convenience. When it was all done I did the bottom hem. When I created the original design I used a straight hem on the bottom. This gave me the flexibility to decide how I wanted the bottom. I folded it in fourths and used a 3.5 in measurement to make the edges. A little photoshoot in my office and some photo pixie dust and voila, I present some of my favorite images. If you have any questions let me know down below!